Setting Up Template Chooser
Firstly you need to know how you would like your customers to choose templates. There are currently 2 options we offer.
Option 1 is using your own templates. You can do this through the BoothBook template chooser.
Option 2 is using an external photobooth template chooser such as Photo Booth Talk or PhotoboothTemplates.com, this is as simple as copying your code.
Option 1
- Have your templates ready to upload
- Go to Assets (camera) icon >Template Groups
- Click Add New Template Group , add a Title, this can be "Mirror, Enclosed" etc or "Weddings, Parties" etc OR "Postcard, Strips, Square" etc. Click Save.
- Repeat step 2 until you have all the groups you need.
- Go to Assets >Templates and click Add a new Template
- Drag the Template file in to the Template Image upload box
- Give the Template a Title / ID
- Select the Template Group/s they apply to
- Create Search Terms for each template, these should be separated by a comma. These could be more descriptive, something that a customer might search for eg. balloons.
- Go to your Assets > Extras, add or edit an applicable extra eg. Custom Prints 4x6, and select the check box to Enable Template Chooser.
- As soon as you are ready to have customers use your template chooser, go to Configuration (cog) icon > Global Settings and scroll down to Template Chooser.
- Select BoothBook Template Chooser and tick Enable client portal template chooser link, then click Save Configuration.
Option 2
- Go to your Assets > Extras, add or edit an applicable extra eg. Custom Prints 4x6, and select the check box to Enable Template Chooser.
- As soon as you are ready to have customers use your template chooser, go to Configuration (cog) icon > Global Settings and scroll down to Template Chooser.
- Select BoothBook Template Chooser and tick Enable client portal template chooser link
- Copy your widget code from your external provider and paste it into the External Widget Code field.
- Click Save Configuration.
How it Works
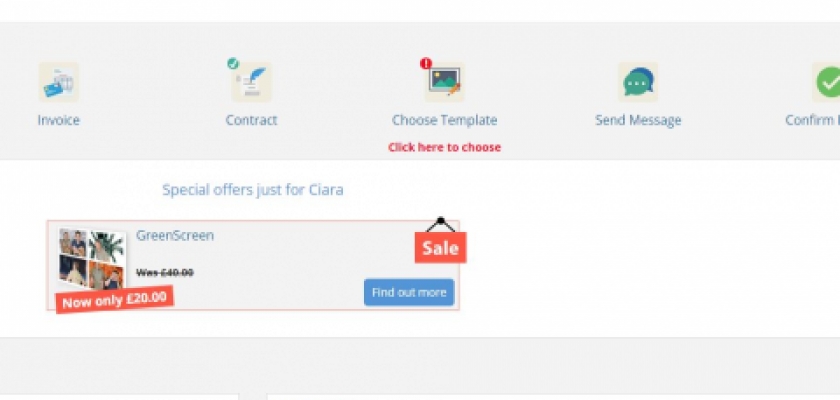
When the customer accesses their client portal, they have a link to select their template.
TOP TIP! - Create a scheduled notification in Configuration > Scheduled Notifications. Set it to send an Email at a set time before the Event Date. Add the condition that Booking DOES contain the applicable Referenced Booking Item. Then create an email using the available variables, sending the customer a link to their portal to select a template.